ANATOMY AND PHYSIOLOGY · CHAPTER 6
Skin Under the Microscope
Follow along with your worksheet, one question at a time.
mrsajdak.com/skin-layers
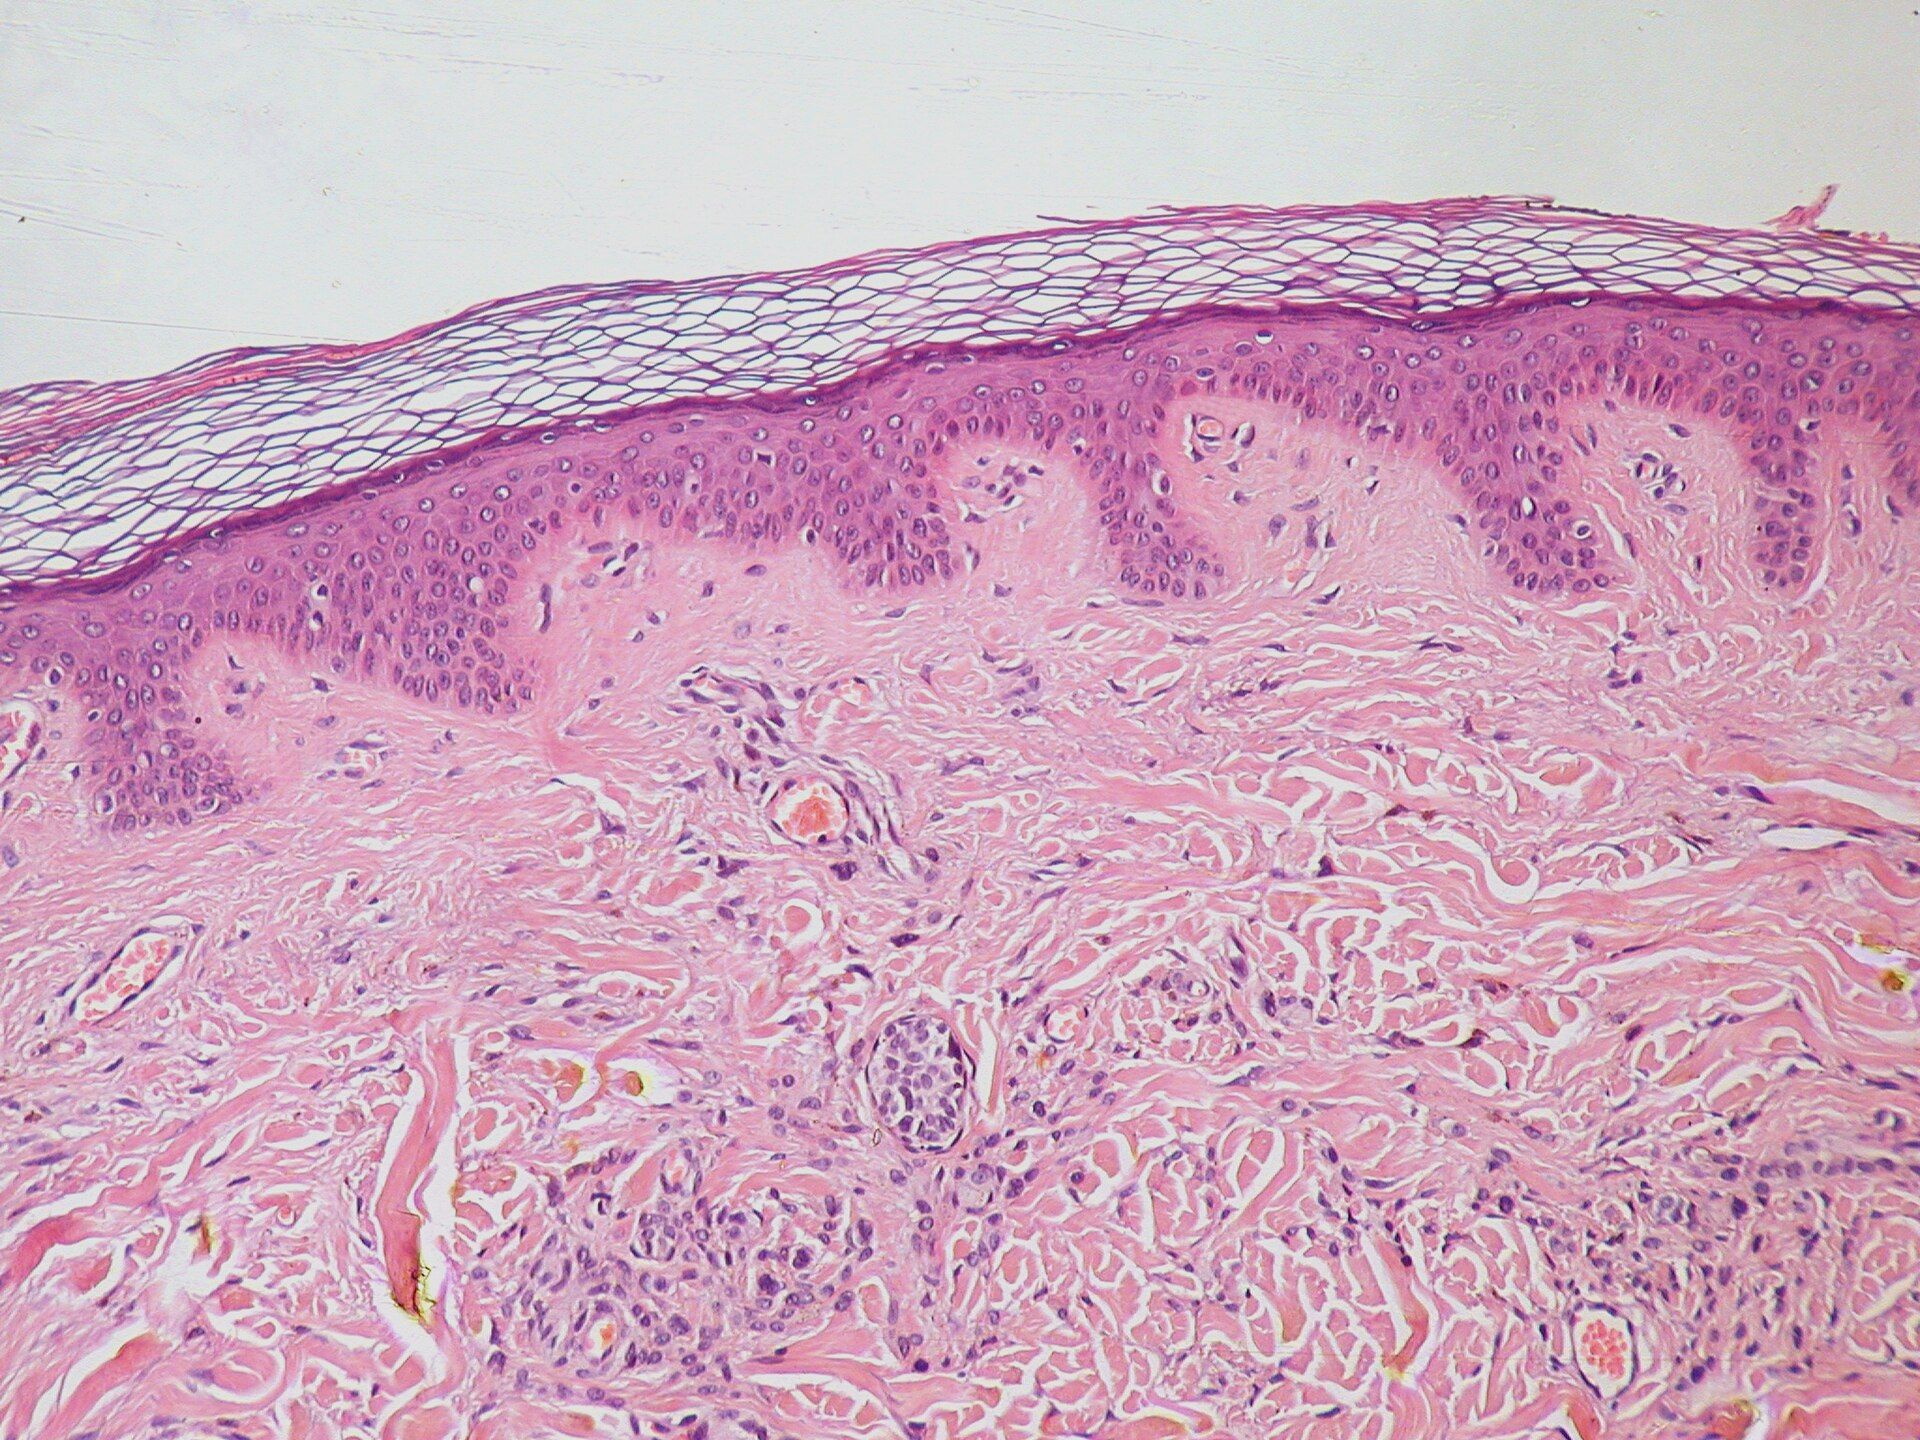
Photo: Kilbad, public domain
BEFORE YOU START
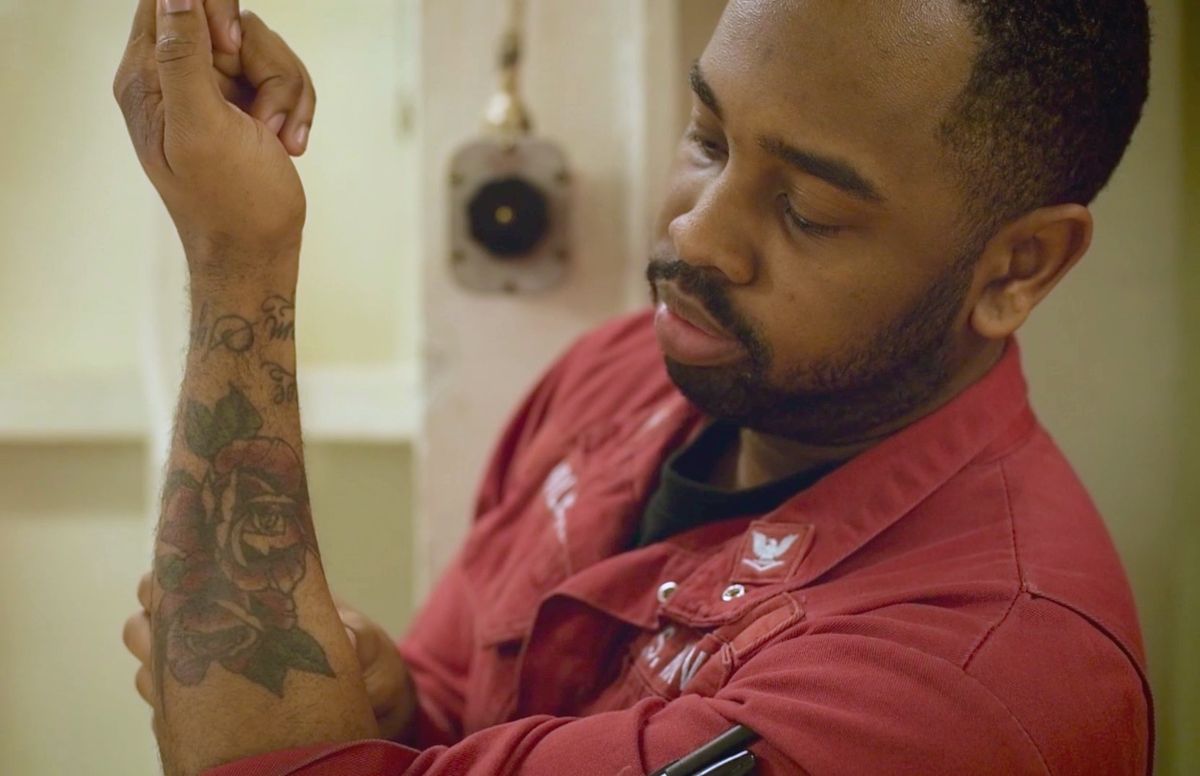
Skin wears away. A tattoo stays.
The layers
1. Epidermis, on top
2. Dermis, below it
3. Subcutaneous layer, beneath the skin
Skin is the first two. Each layer is built for a different job.
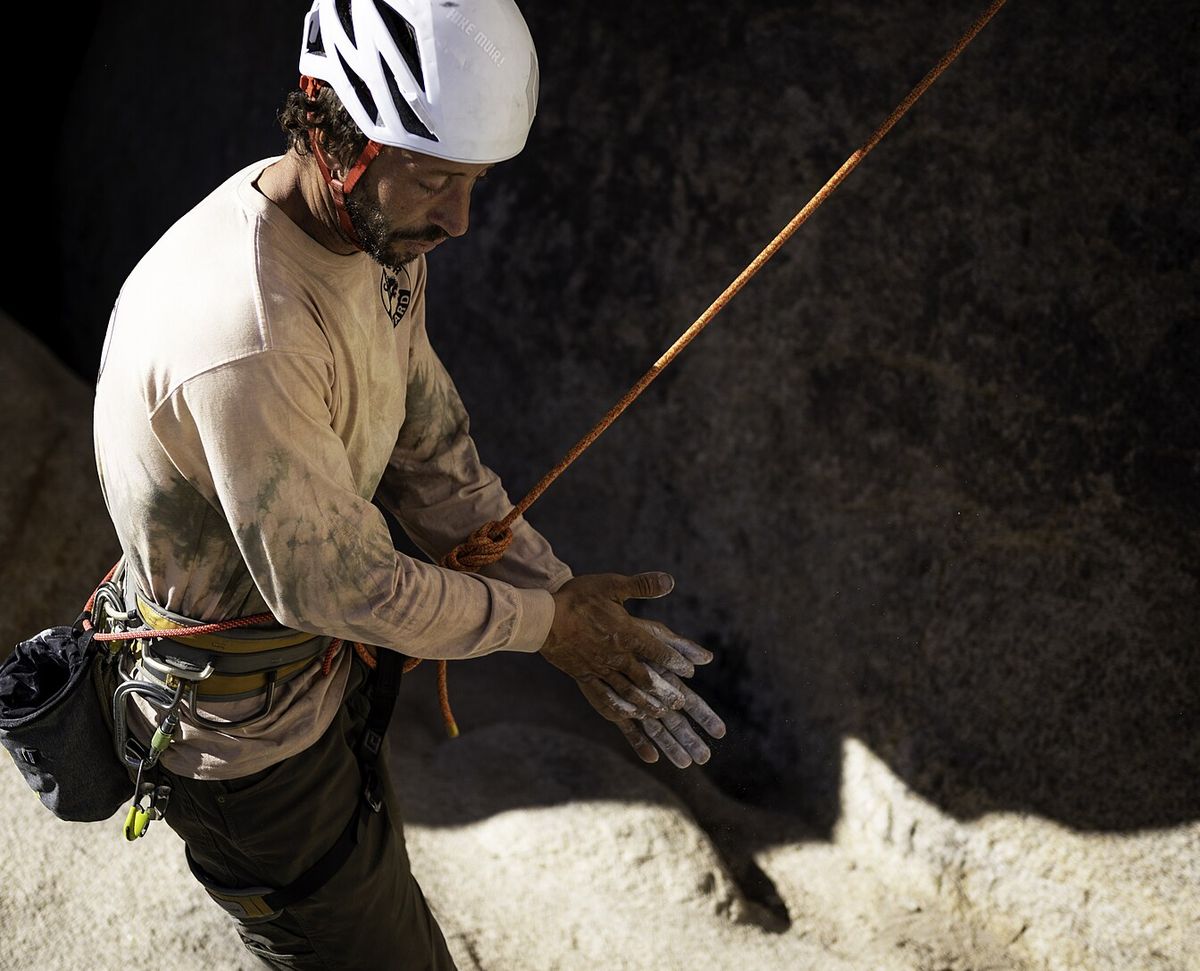
If skin keeps wearing away, how can a tattoo last for life?
Photos: Emily Hassell, National Park Service · Brandon Richardson, U.S. Navy
BEFORE YOU START
Get set up
1
Open mrsajdak.com/skin-layers on your device.
2
Write your name, the date and your period on the worksheet.
3
Find the four tabs at the top of the lab. Each tab goes with one part of the worksheet.
4
Day 1 is the front of the worksheet. Day 2 is the back.
5
Start on Tab 1. Do not skip ahead.
| Tab in the lab | Worksheet | Questions |
|---|---|---|
| 1. Virtual microscope | Day 1 · Part 1 | 1 to 6 |
| 2. Body map | Day 1 · Part 2 | 7 to 10 |
| 3. Inside the epidermis | Day 2 · Part 3 | 11 to 15 |
| 4. Inside the dermis | Day 2 · Part 4, Wrap it up | 16 to 20 |
Screenshot: mrsajdak.com/skin-layers
DAY 1 · TAB 1 · QUESTIONS 1 TO 6
Part 1. Virtual microscope
A thin slice of skin sits on a slide. Stain makes its parts show up.
You will find the three layers. Then you will measure them and test three injuries.
Photo: Hennepin County Library, public domain
PART 1 · QUESTION 1
Focus, then find the layers
1
Pick a slide. Start with Thin skin · forearm.
2
Move the Focus slider until the lab says sharp.
3
Click a spot inside the circle. A yellow marker shows up.
4
Name the layer under the marker. A wrong pick gets crossed out.
5
Find all three layers on both slides. Then tick the clues in Question 1.
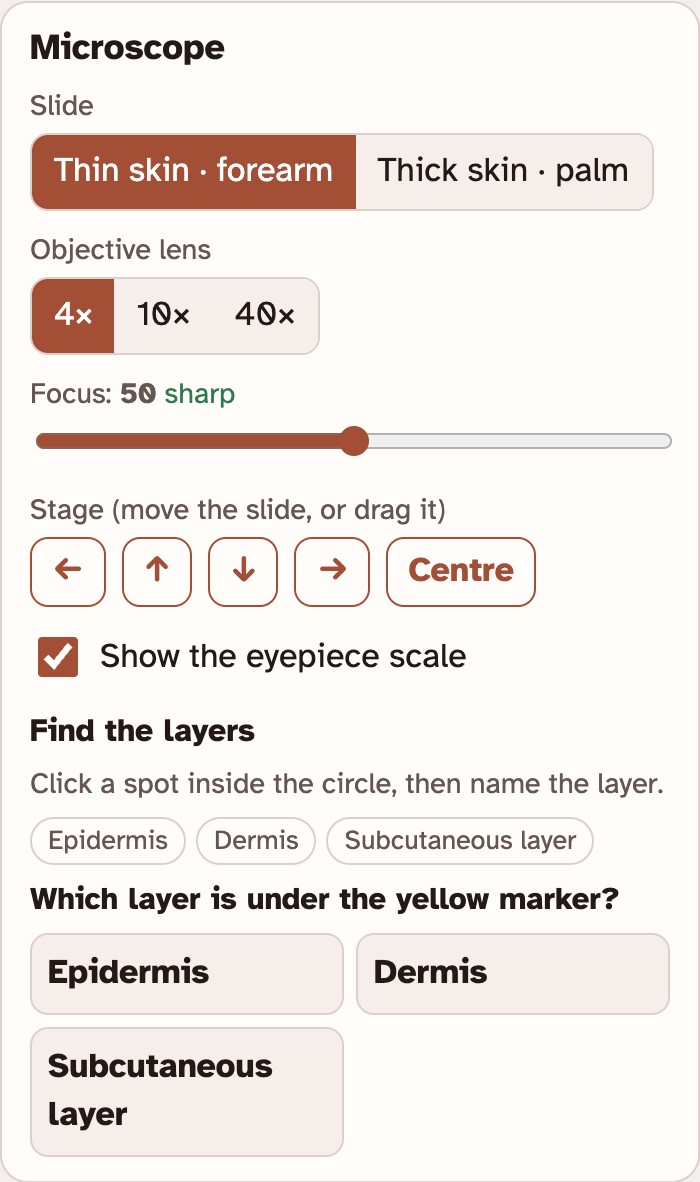
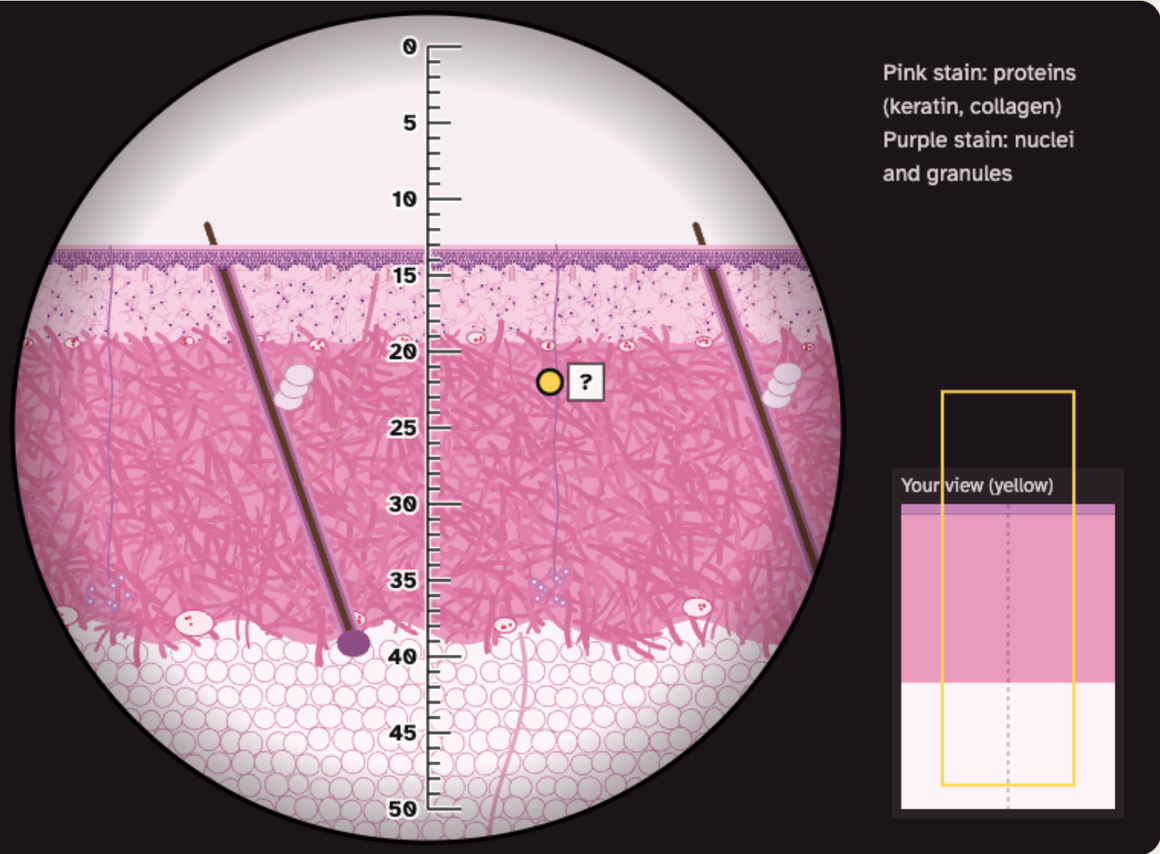
Drag the slide to move it. Or use the arrow buttons.
Pink stain shows proteins. Purple stain shows nuclei.
Screenshots: mrsajdak.com/skin-layers, Tab 1
PART 1 · QUESTION 2
Read the eyepiece scale
1
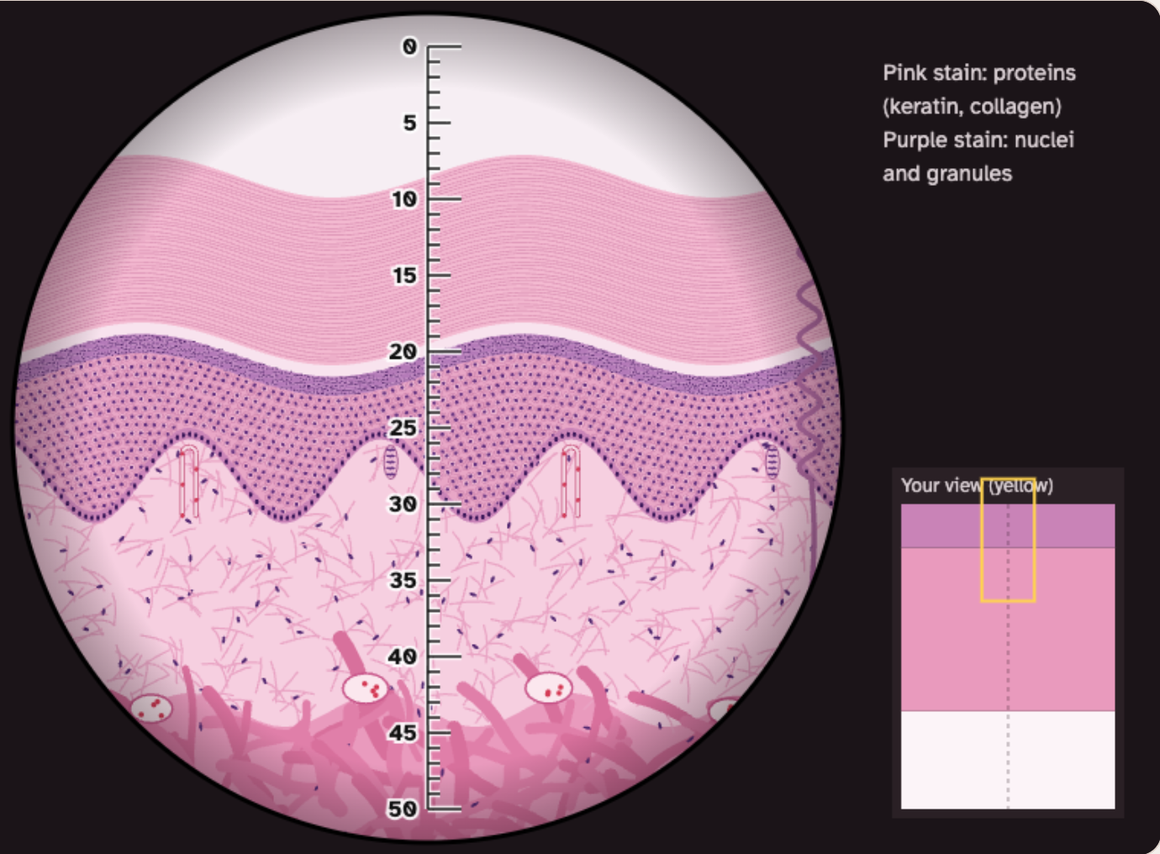
Find the scale in the middle of the circle. It has 50 divisions.
2
Pick the 4× objective lens. Look to the left of the circle. The lab says what 1 division is worth.
3
Write that number. Do the same for 10× and 40×.
4
Focus again after each change. Each lens has its own sharp spot.
Words to know
Objective lens
The lens near the slide.
Division
One small step on the scale.
µm
A micrometer. 1,000 µm = 1 mm.
Screenshot: mrsajdak.com/skin-layers, Tab 1
PART 1 · QUESTION 3
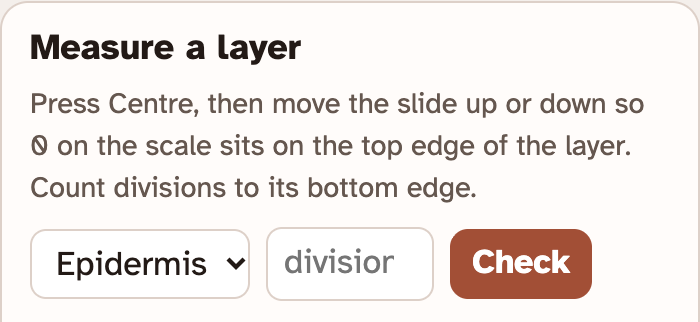
Measure a layer
1
Press Centre. Your worksheet uses the middle of the slide.
2
Move the slide up or down. Put 0 on the top edge of the layer.
3
Count the divisions down to the bottom edge of the layer.
4
In Measure a layer, pick the layer. Type your count. Press Check.
5
Fill in the row. Do both layers on both slides.
Layer longer than the scale? Try a weaker lens.
Layer only a division or two? Try a stronger lens.
The lab keeps your checked rows in Your results.
Example
You count 9 divisions.
One division is worth 25 µm.
9 × 25 = 225 µm
225 µm ÷ 1,000 = 0.225 mm
These are not your numbers. Use your own.
Screenshot: mrsajdak.com/skin-layers, Tab 1
PART 1 · QUESTIONS 3 AND 4
Pick the lens that fits the layer
TOO BIG
50
The scale ends
The scale has only 50 divisions.
A layer that runs past the end cannot be counted in one go.
TOO SMALL
1 or 2?
Hard to count
A very thin layer covers only a sliver of the scale.
A small slip makes a big error.
QUESTION 4
Best?
Which lens for the thin epidermis?
Look at your table. Which objective did you use?
Now try it at 4×. How much of the scale does it cover?
PART 1 · QUESTIONS 5 AND 6
How deep does it go?
1
Pick a slide.
2
Under How deep is the injury?, press Scrape · 0.05 mm.
3
Find the white notch on the slide. Read Deepest layer and Bleeds?
4
Do the same for Cut · 0.3 mm and Deep cut · 2.0 mm.
5
Switch slides. Do all three again.
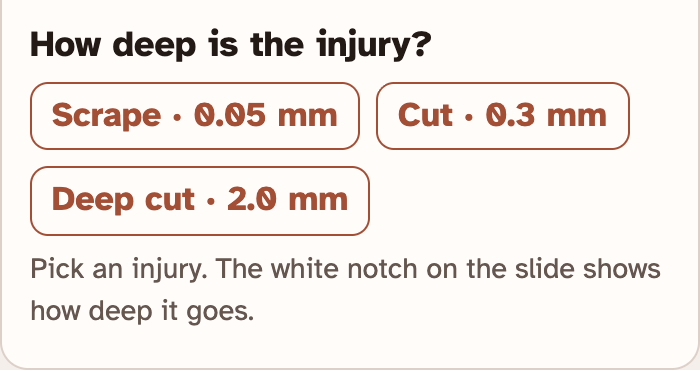
If the lab says Yes, a little, circle yes.
Your results keeps a list under Injuries.
QUESTION 6
Same cut, two results
Compare the 0.3 mm cut on the forearm and on the palm.
Use your epidermis numbers from Question 3.
What does the epidermis have? What does it not have?
Screenshot: mrsajdak.com/skin-layers, Tab 1
DAY 1 · TAB 2 · QUESTIONS 7 TO 10
Part 2. Body map
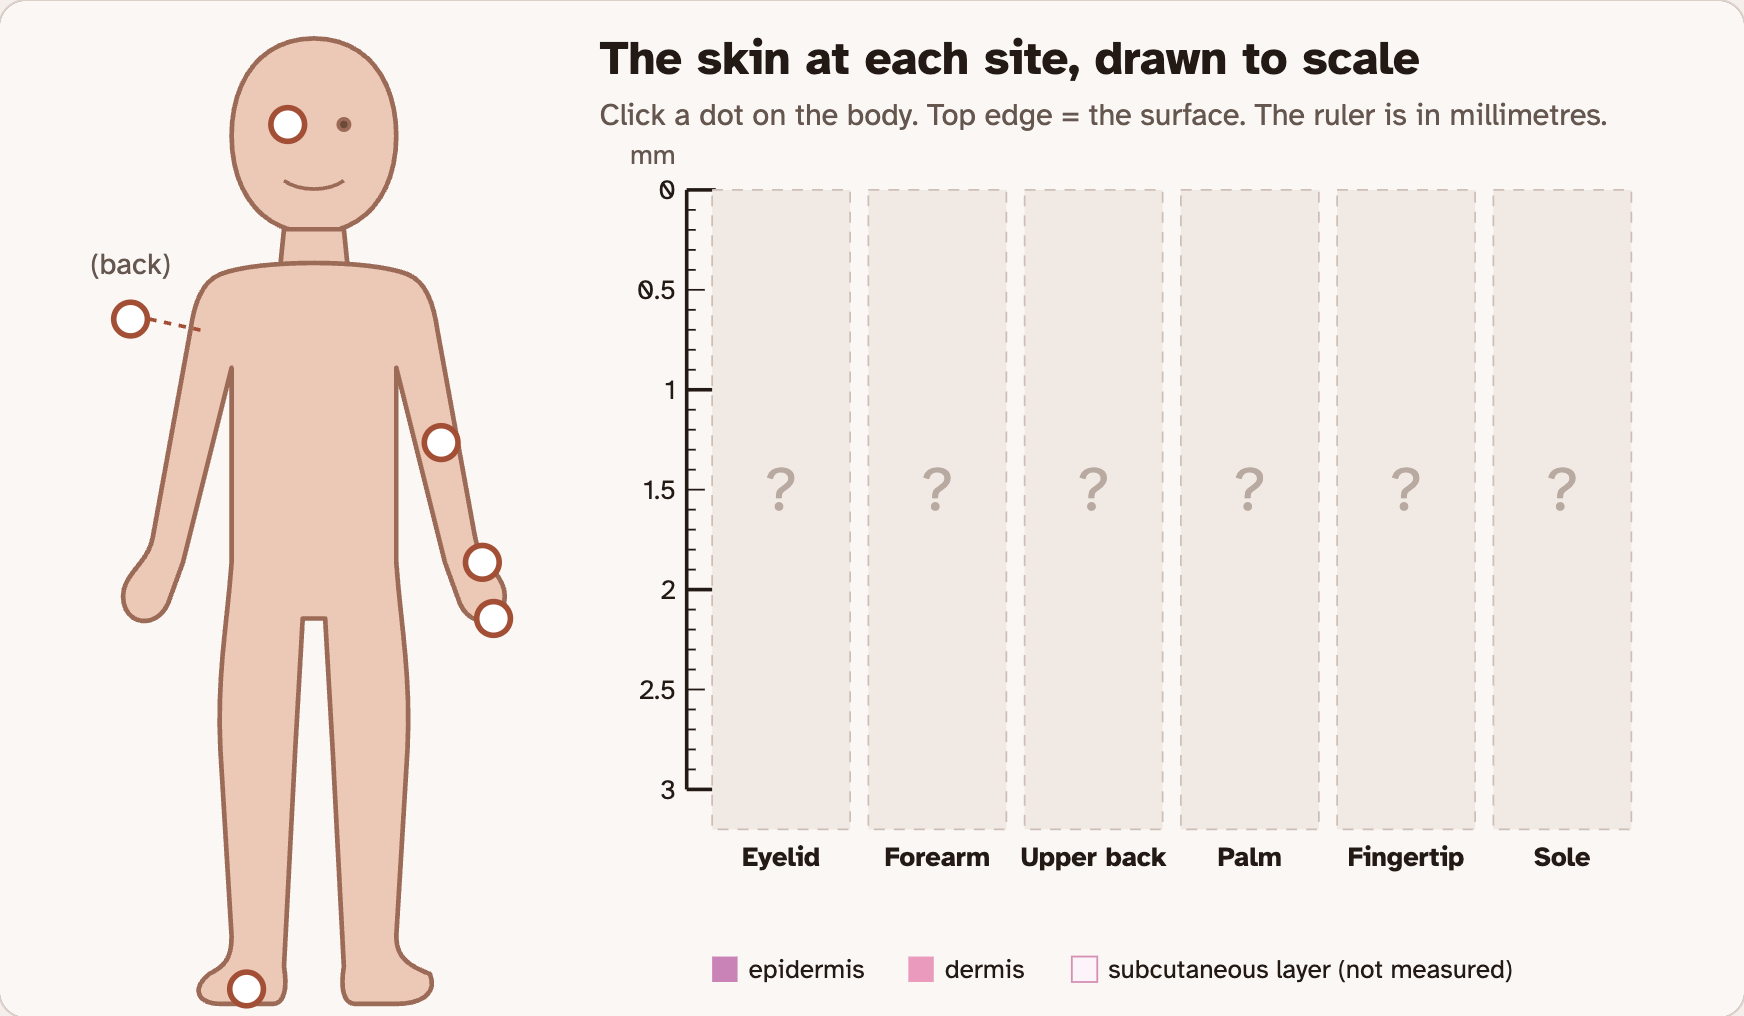
Skin is not the same thickness everywhere.
You will compare six places on the body. Look for a pattern.
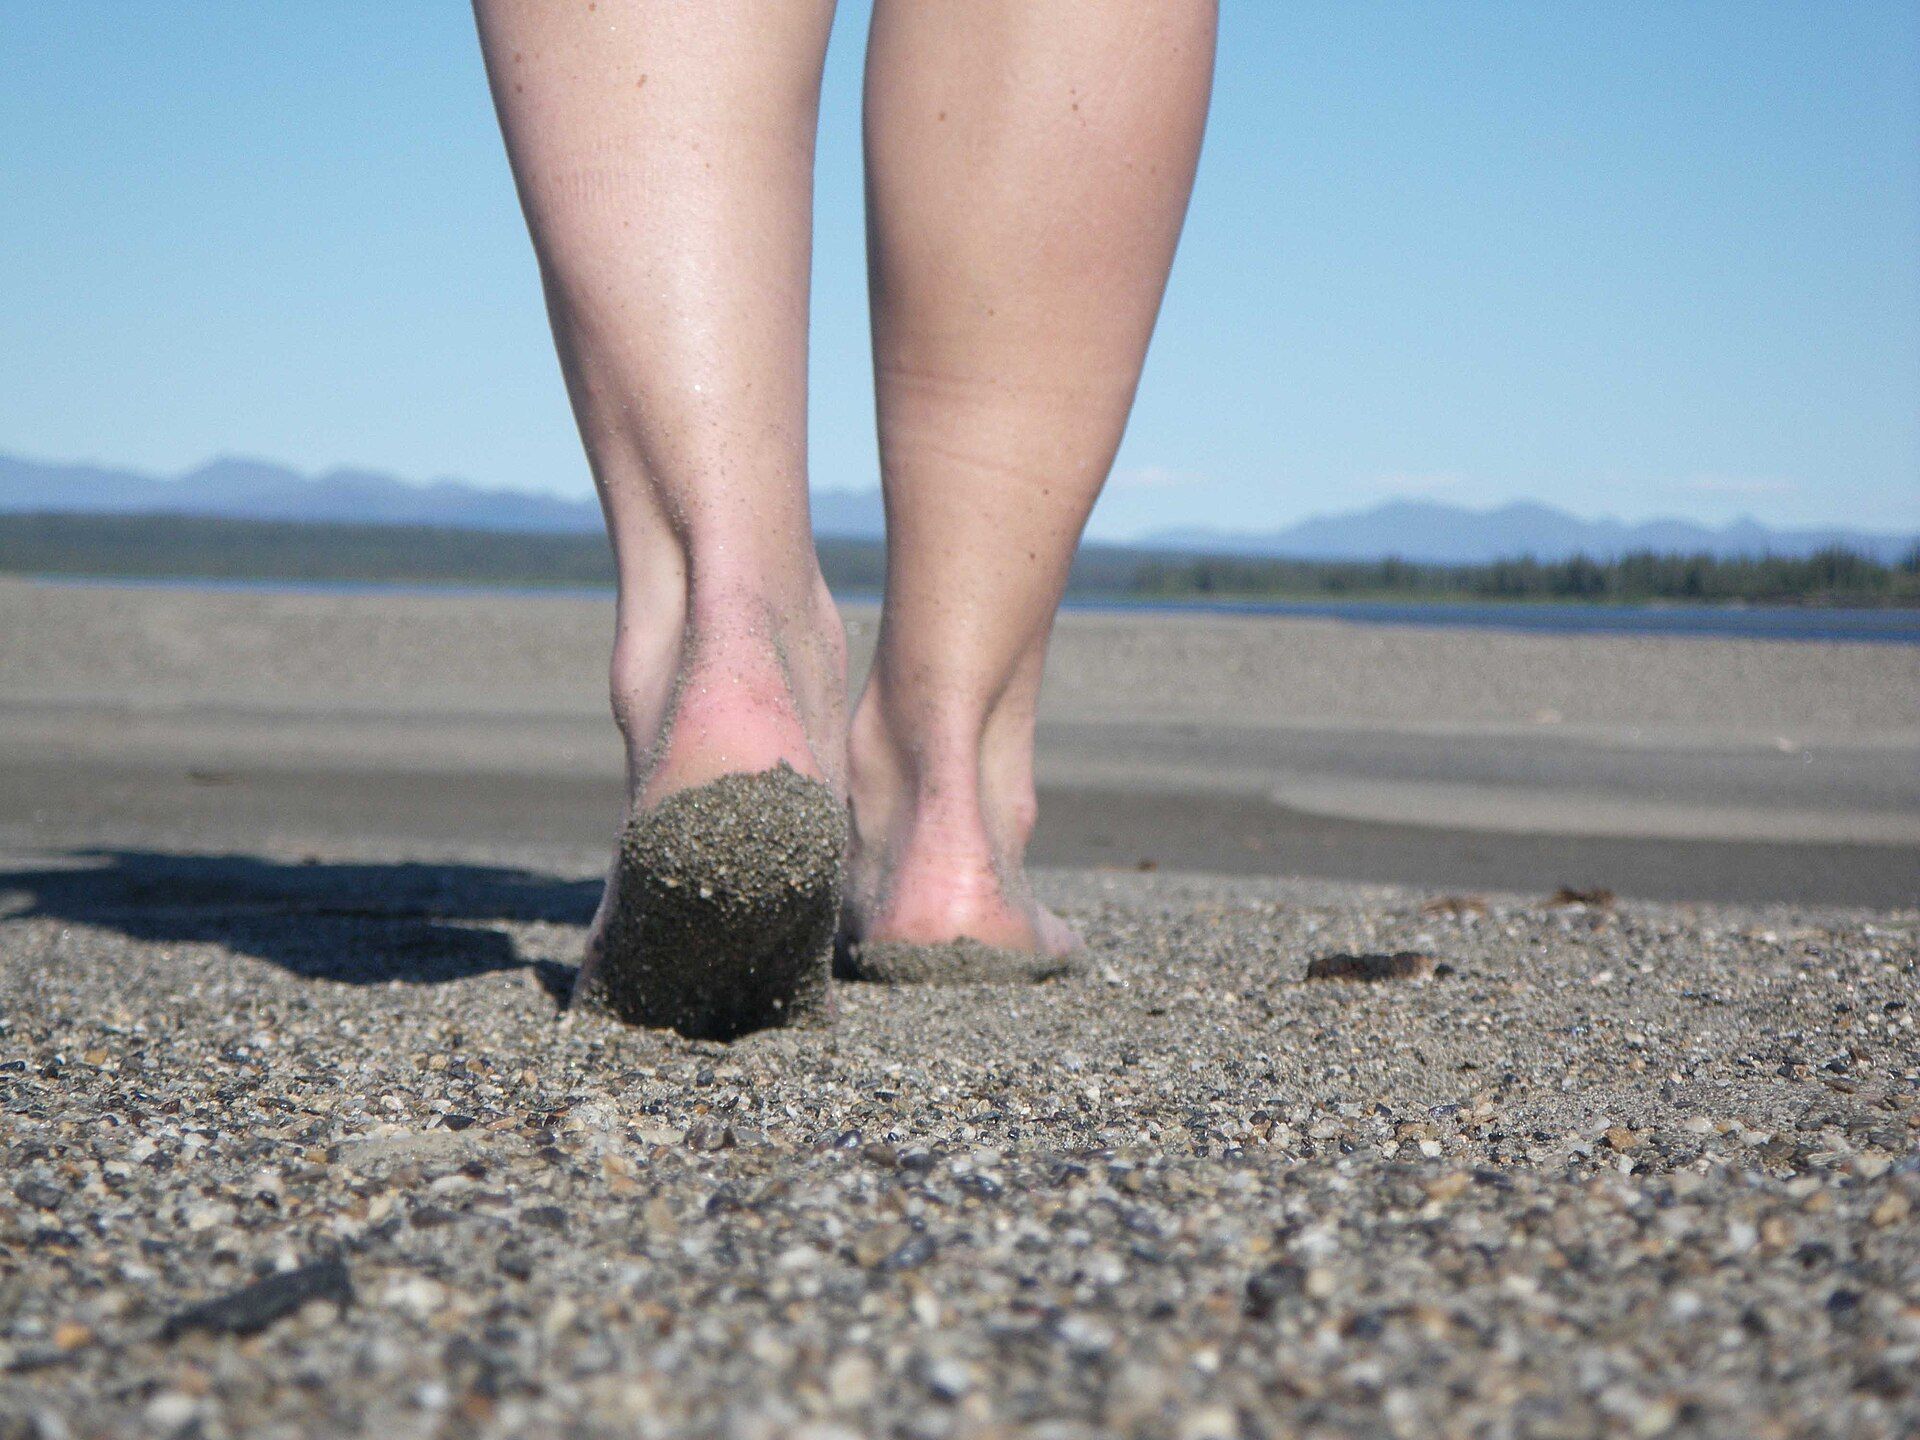
Photo: Western Arctic National Parklands, CC BY 2.0
PART 2 · QUESTION 7
Click all six sites
1
Click each of the six dots on the body.
2
Each click adds a slice of that skin to the chart. Every slice is drawn to the same scale.
3
Find the Six sites table.
4
Copy Epidermis mm and Dermis mm for each site.
5
The Skin column says thick or thin. Copy that too.
Screenshot: mrsajdak.com/skin-layers, Tab 2
PART 2 · QUESTIONS 8 TO 10
Find the pattern
QUESTION 8
÷
How many times thicker?
Divide the sole epidermis by the eyelid epidermis.
Then find the forearm in your Question 3 table. Does it match the chart?
QUESTION 9
Top 3
What do they share?
Under Line the slices up by, press epidermis, thin to thick.
Click the three thickest. Read What it faces for each one.
QUESTION 10
Back
Thick dermis, thin epidermis
Press dermis, thin to thick. Find the upper back.
What is each layer built for? Use that to explain.
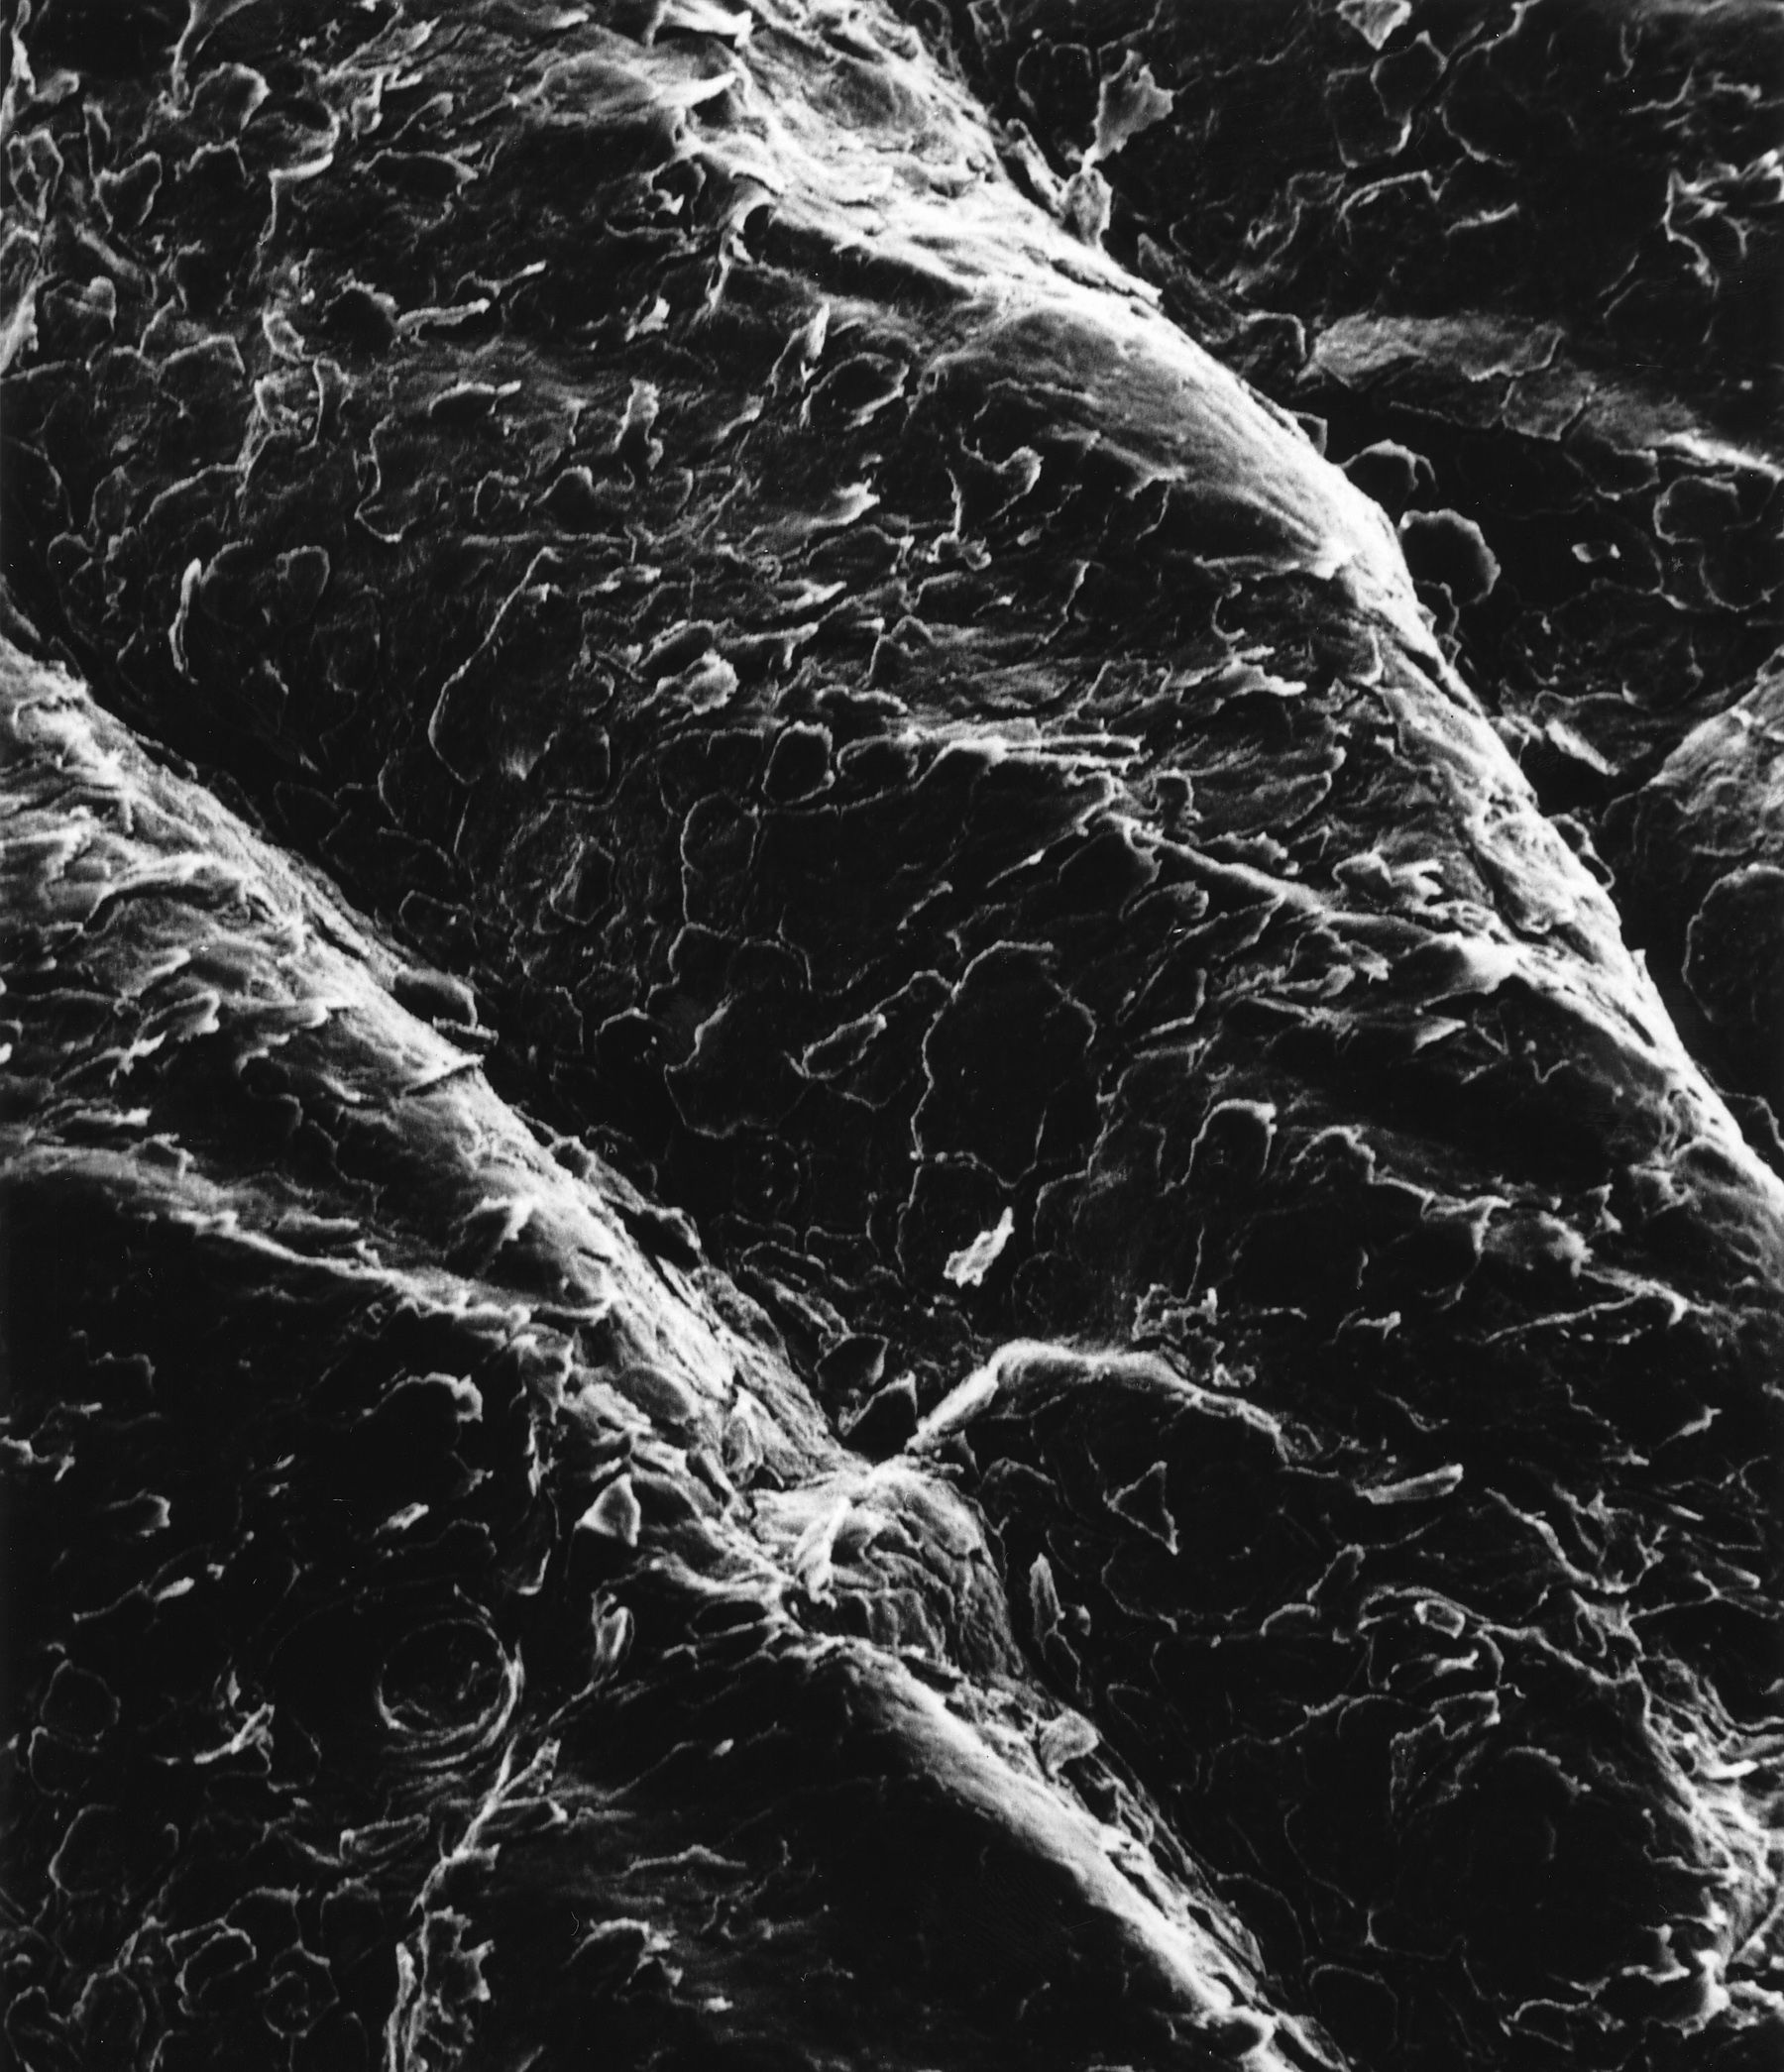
DAY 2 · TAB 3 · QUESTIONS 11 TO 15
Part 3. Inside the epidermis
The epidermis has layers of its own. One layer is a stratum. More than one are strata.
You will name them. Then you will follow one cell from the day it is born to the day it flakes off.
Photo: Bruce Wetzel, National Cancer Institute
PART 3 · QUESTION 11
Name the five strata
1
Stay on Thick skin · palm. Click a band in the picture.
2
Name it. A wrong pick gets crossed out. Try again.
3
Read the note that shows up. It tells what happens to cells there.
4
Find all five. Write them in order, bottom to top.
5
Switch to Thin skin · forearm. Which stratum is missing?
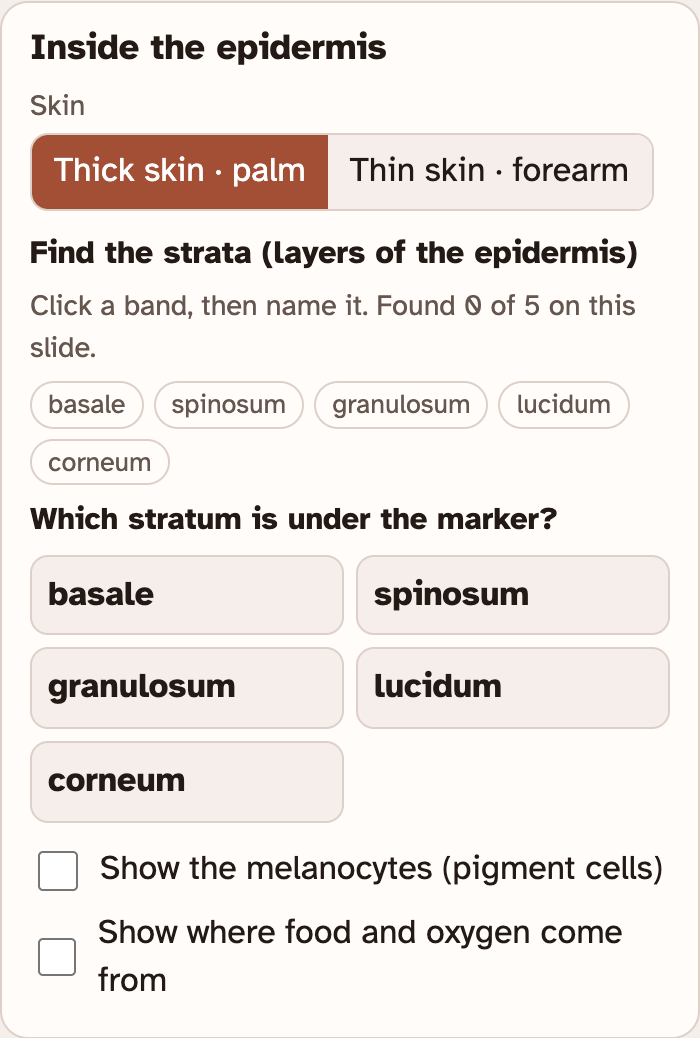
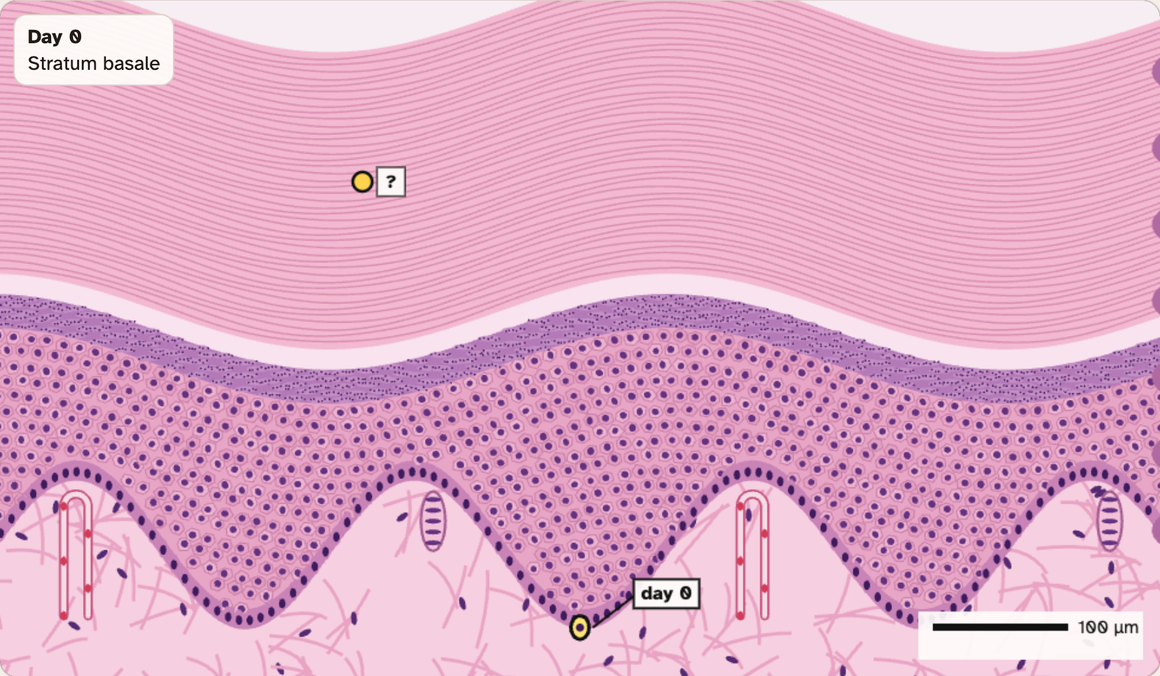
The yellow marker shows where you clicked.
Found bands get a green pin with their name.
Screenshots: mrsajdak.com/skin-layers, Tab 3
PART 3 · QUESTION 12
Follow one cell
1
Switch to Thin skin · forearm.
2
Find Follow one cell. Press Play. Or press +1 day.
3
Watch The cell’s trip. It fills in the day the cell enters each stratum.
4
Copy the days. The last one is the day the cell flakes off.
5
Divide that last day by 7. That is the number of weeks.
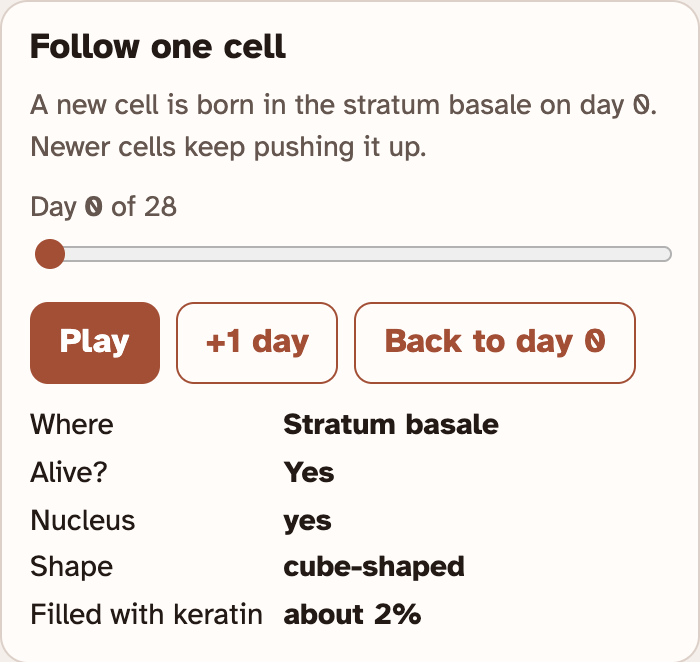
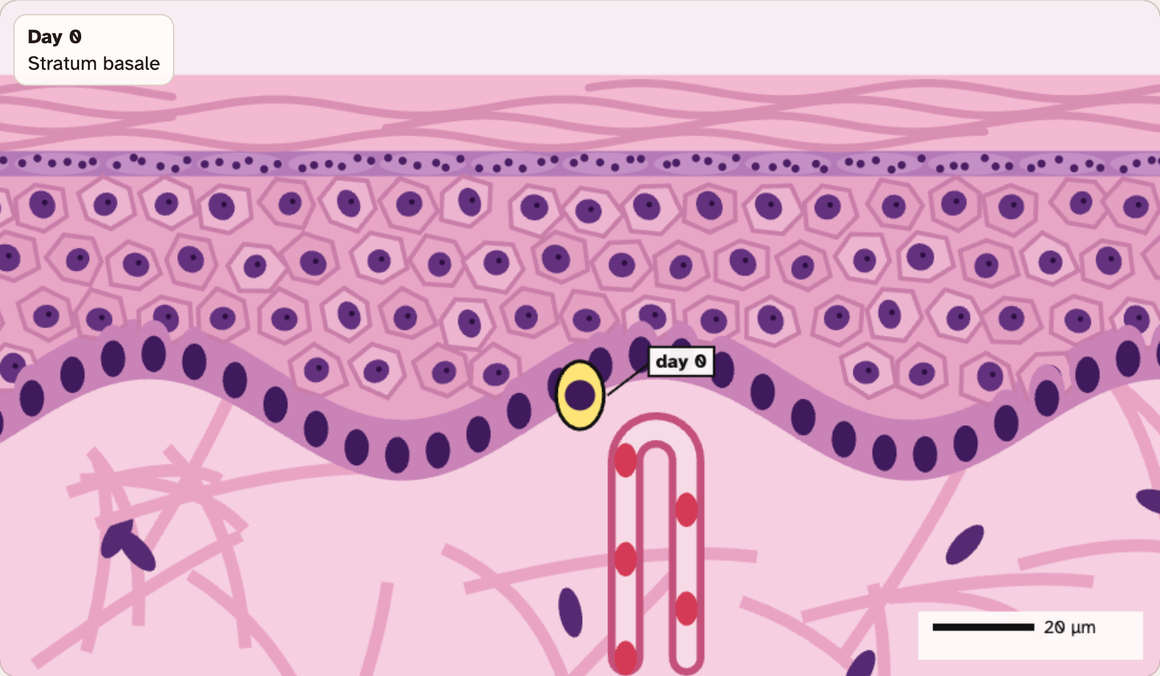
Example
42 ÷ 7 = 6
A cell that flakes off on day 42 took 6 weeks. These are not your numbers.
Screenshots: mrsajdak.com/skin-layers, Tab 3
PART 3 · QUESTIONS 13 TO 15
Alive, fed and replaced
QUESTION 13
Alive?
Where does the cell die?
Step through the days. Watch Nucleus. Where does it start to break down?
Check your notes from Question 11. Then read the last line in the box. What fills the cell?
QUESTION 14
Fed?
No blood vessels
Tick Show where food and oxygen come from. Find the yellow glow.
Where does it start? Which cells are far from it? Does that hurt a dead cell?
QUESTION 15
Steady
Lost on top, same thickness
Go back to day 0. Read the first line under Follow one cell.
Cells leave the top every day. What keeps up with the loss?
DAY 2 · TAB 4 · QUESTIONS 16 TO 19
Part 4. Inside the dermis
The dermis has two layers. The papillary layer is on top. The reticular layer is below.
You will find seven structures, pull on each layer, and count the ridges on a fingertip.
Photo: Frettie, CC BY 3.0
PART 4 · QUESTION 16
Find all seven
1
Look under Find each one. The lab names what to find next.
2
Click it inside the circle. Green words tell you when you found it.
3
Wrong spot? The lab tells you what you clicked. Keep looking.
4
Move the slide down for the deep ones. Or switch to 4×.
5
Read the note under each one you find. It says where it is. Then tick the table.
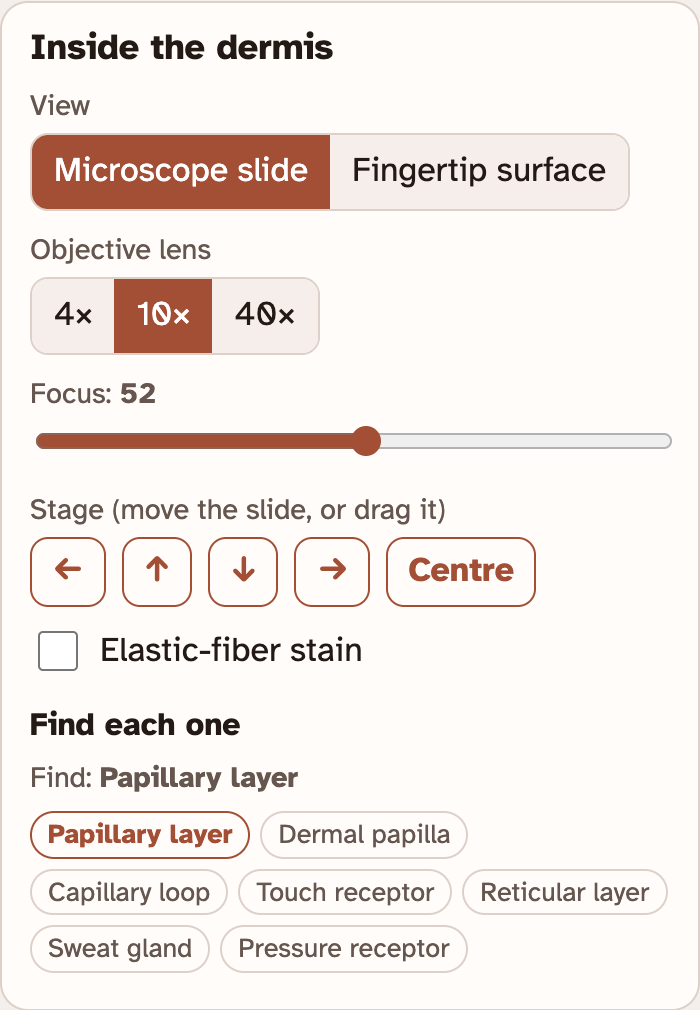
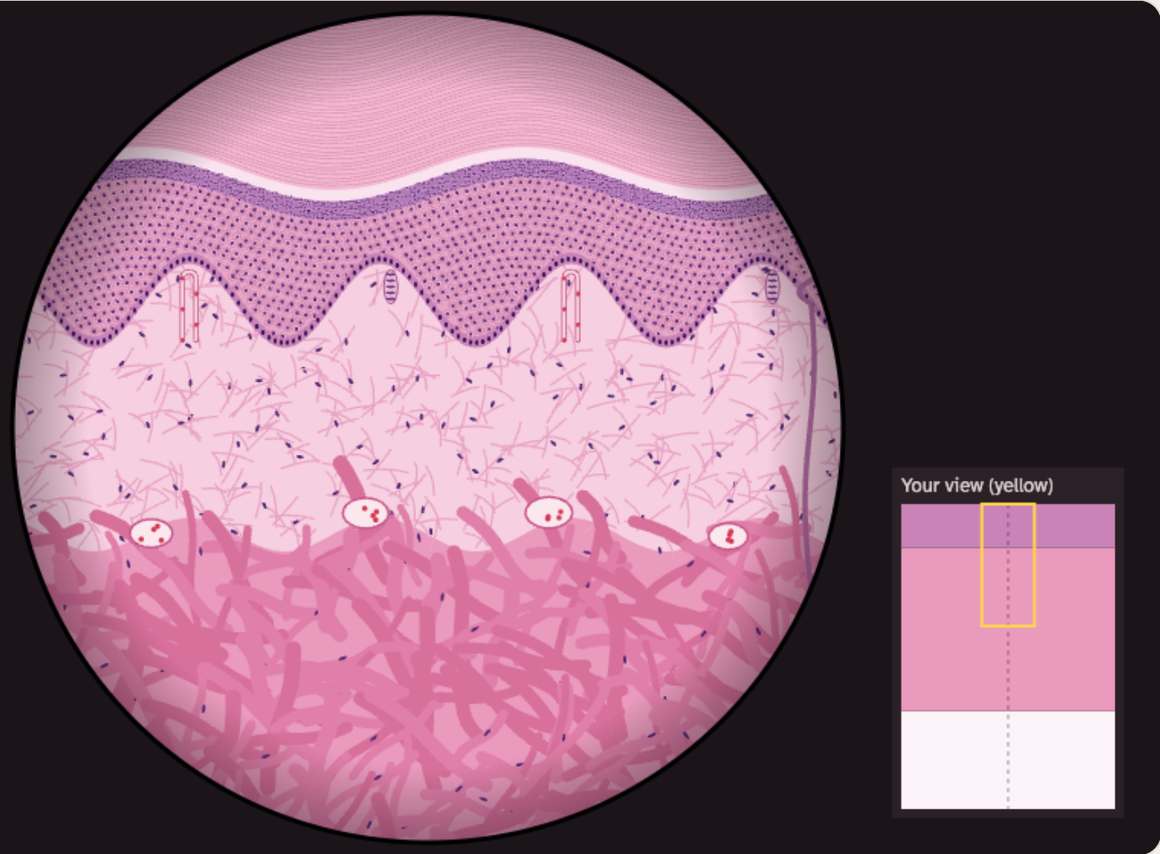
You find them in order. There are seven.
Elastic-fiber stain turns the elastic fibers black.
Screenshots: mrsajdak.com/skin-layers, Tab 4
PART 4 · QUESTIONS 17 AND 18
Pull until it tears
1
Find Pull test. Pick a Sample and a Pull direction.
2
Press Skip to the end. Or press Pull until it tears and watch.
3
Read the force where it tore. It is in Your results.
4
Do all five tests in your table.
5
Question 18: divide the reticular force by the papillary force.
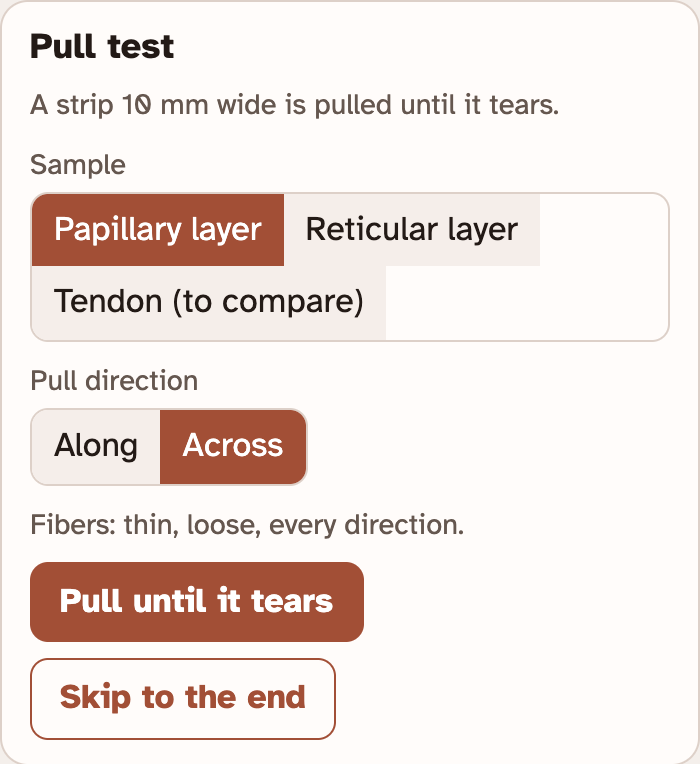
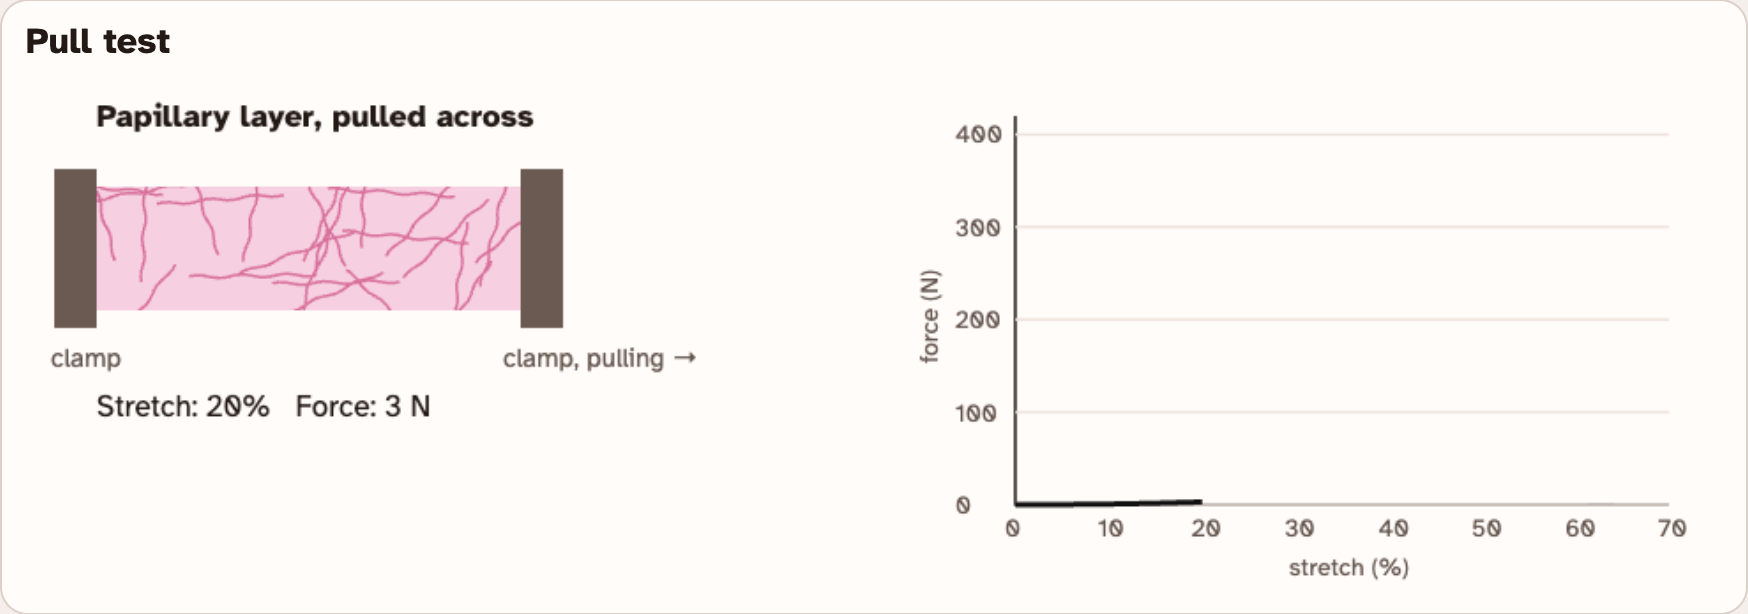
This strip is still being pulled. It has not torn yet.
Read Fibers under the buttons. It says how the fibers run.
Example
60 ÷ 15 = 4
A strip that tears at 60 N is 4 times stronger than one that tears at 15 N. These are not your numbers.
Screenshots: mrsajdak.com/skin-layers, Tab 4
PART 4 · QUESTION 19
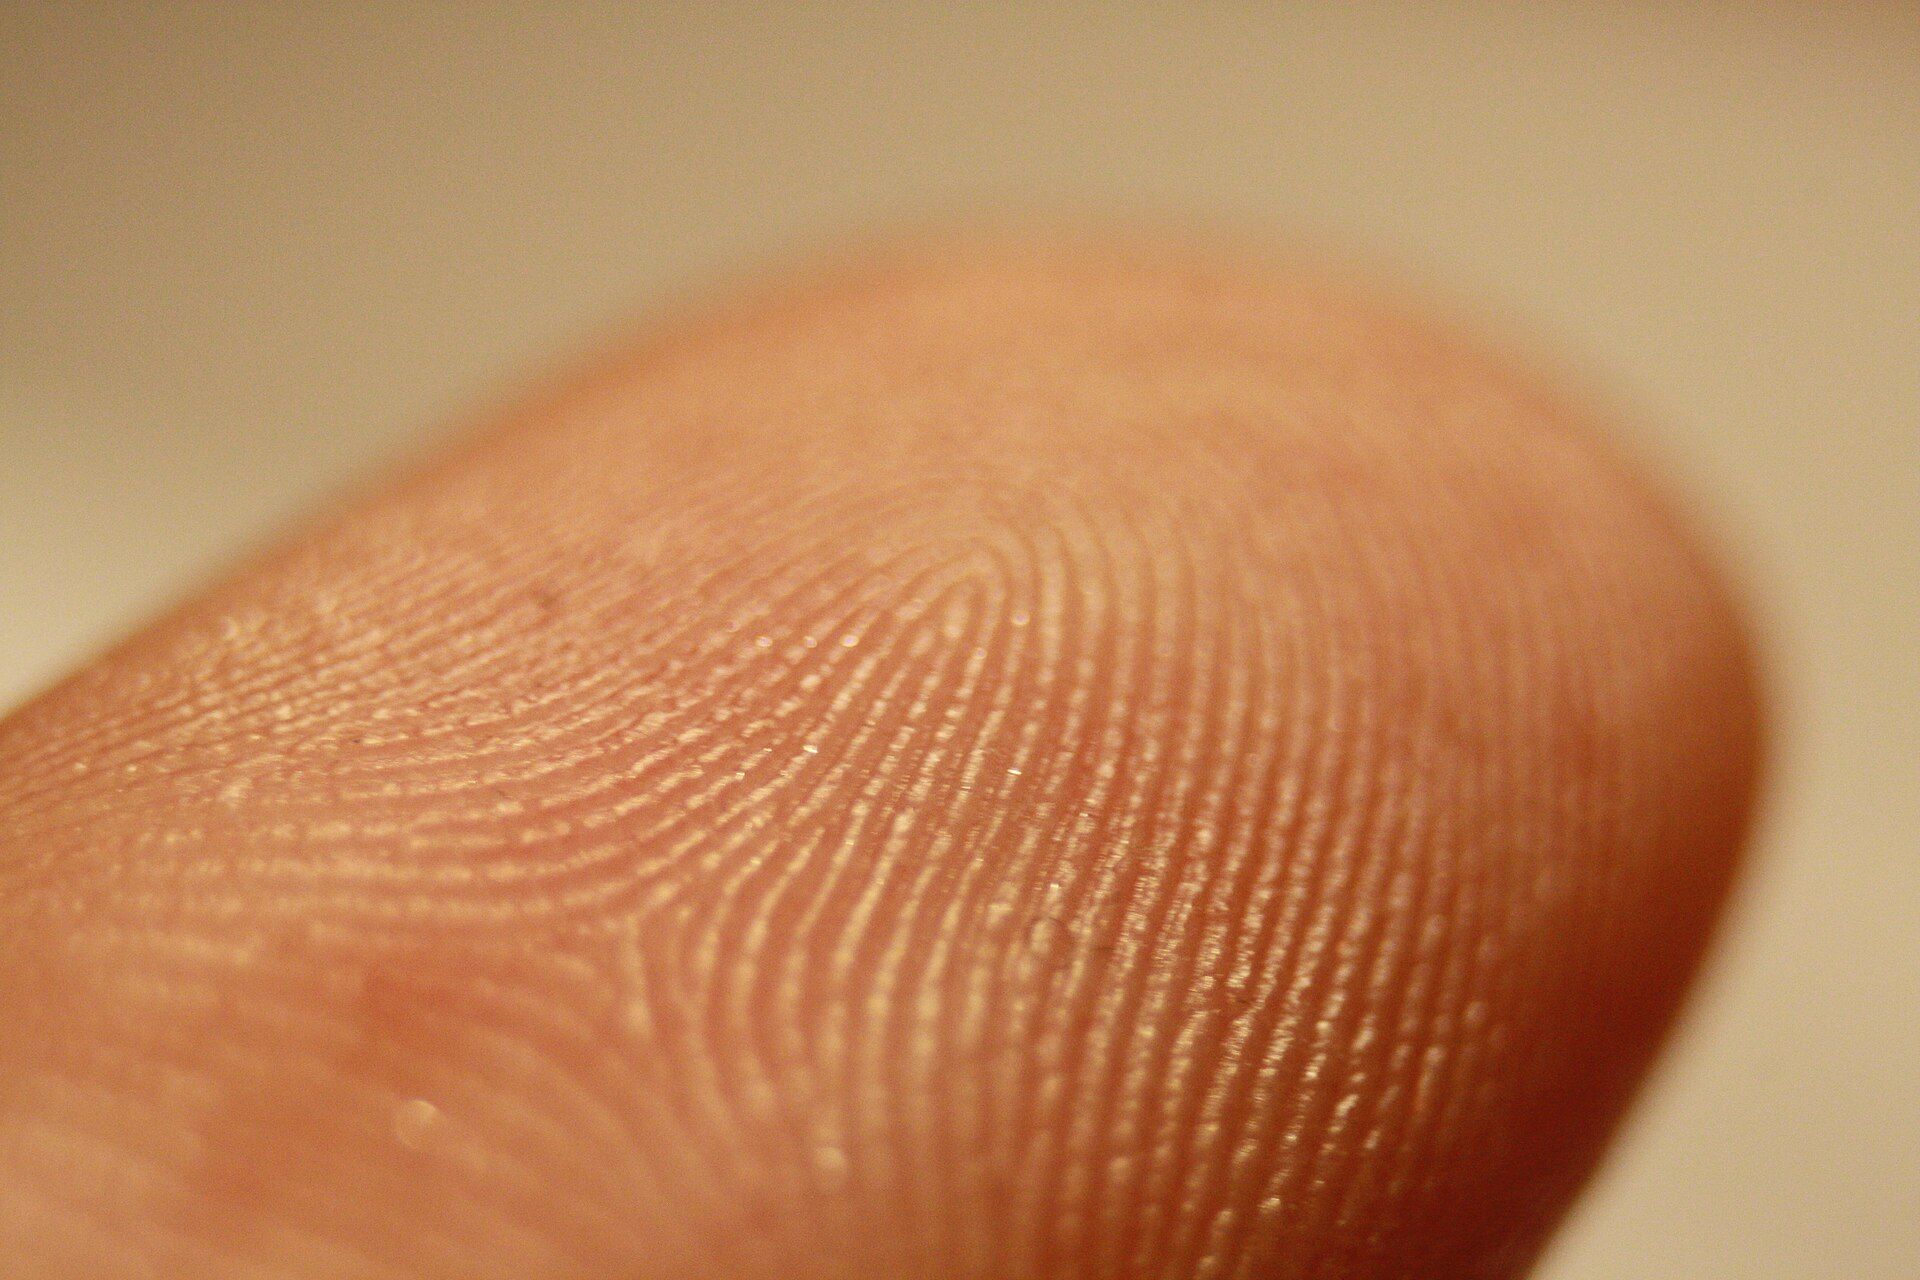
Count the ridges
1
Under View, press Fingertip surface.
2
Find the blue line inside the 5 mm box. Count the ridges that cross it.
3
Divide 5 mm by your count. That is how far apart the ridges are.
4
Read the words beside the picture. Where does the ridge pattern start?
5
The epidermis is replaced every few weeks. Why does the pattern stay?
Example
5 mm ÷ 4 = 1.25 mm
4 ridges across 5 mm are 1.25 mm apart.
These are not your numbers.
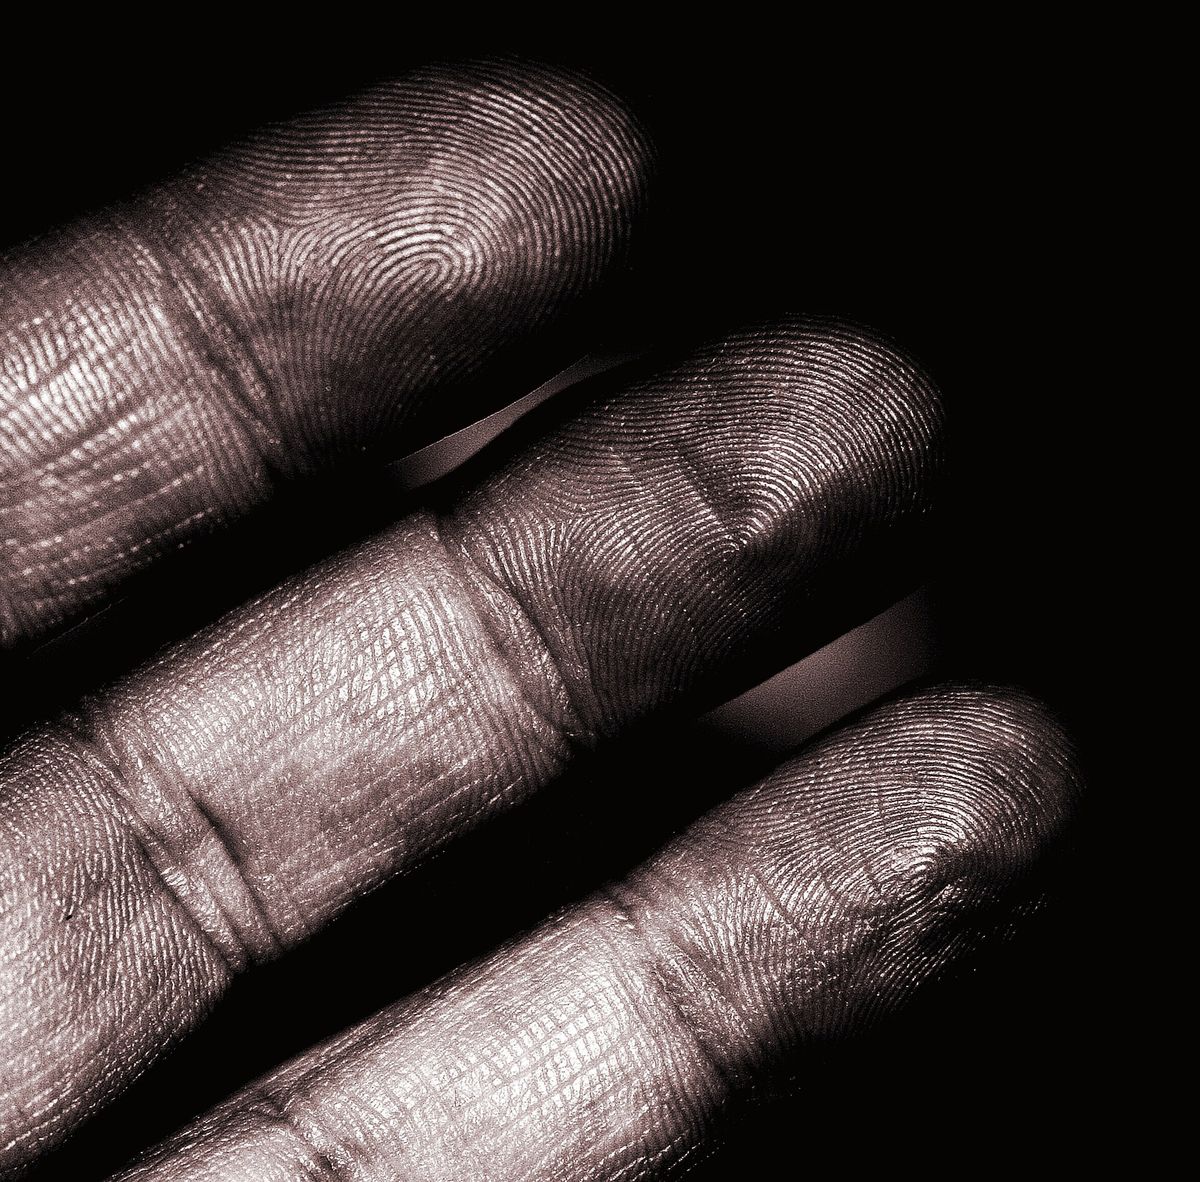
Screenshot: mrsajdak.com/skin-layers, Tab 4 · Photo: D. Sharon Pruitt, CC BY 2.0
WRAP IT UP · QUESTION 20
Why does a tattoo last?
The claim
“Tattoo ink lasts for life only because it is put into the dermis.”
Evidence 1
Pick one tab. Use a number or a fact from your worksheet. Tab 3 tells how long one cell lasts.
Evidence 2
Pick a different tab. Tab 1 shows how deep a cut must go. Tab 4 shows a pattern that lasts for life.
Reasoning
Compare the two layers. What happens to cells in the epidermis over time? What about the dermis?

Tattoo ink sits in the skin for many years.
Photo: Tony Alter, CC BY 2.0
LAST CHECK
Before you hand it in
Name, date and period are on top.
Every table is full, front and back.
Questions 1, 11 and 16 have their ticks.
Every measurement has a unit: µm, mm or N.
Question 20 uses evidence from two different tabs.
Photo: R G, CC BY 2.0